Prepaid hours voucher in TimeGuru

Overview of prepaid hours vouchers
Using TimeGuru projects for hour vouchers is useful if you sell prepaid hours and need to follow consumption until empty. Like if your client buy 50 hours at a fixed price. Likely with some discount for purchasing “chunk” of hours.If your company are selling these vouchers to your customers, it can be very helpful.
TimeGuru offers many simple but relevant functions that can give you an overview of your sold prepaid hours vouchers on various customers. Furthermore, is it very easy to see the progress of individual vouchers and the total of all vouchers.
Please follow this guide to create your prepaid hours vouchers!
How to create prepaid hours vouchers with projects
It is a good idea to start off by creating a project group so you can do reporting on this particular type of projects/vouchers. This will give you good overview, not only on single clients but also across all vouchers ever created in your system.
To do this, go to the menu -> projects -> project groups.

Click ‘Create new’ and name it something like ‘Prepaid hours vouchers’ (your choice). After you click ‘Create’, you can use this project group for your voucher projects.

Now you can create your prepaid hours vouchers/projects. First, go to the project list in the menu.

When you are at the project list page, click ‘Create new’ to create your first prepaid hour voucher.

Fill out information
Firstly you need to fill out basic information about the project. In this example, the project name is called ‘IT-support’ to describe what the voucher is about.
Project leader and assistant can follow project consumption and finance details in their dashboard.
The scheduled start date informs when the customer can begin to use the voucher. Dates are not mandatory but you should enter some, if you would like to track revenue, cost and profit. Or if you are using the Gantt-chart for a visual presentation of projects.
Fill out fixed price (not mandatory) and hours. Fixed price is the sales price on the voucher, which is useful, if you tract economy as well as hours.
In the description you can give a brief explanation about the use of the voucher and any other important information.

The customer details contains information about the customer. If you want to be able to generate customer specific reports, you have to select a customer for the project. Remember to select your newly created project group in section: ‘Other settings’.
When you have filled out all the information, click ‘Create’. Now you can see the new project in the project list. In the personal dashboard of the project leader and assistant, the project will also show up.
Time registration on vouchers (projects)
When you tract time on projects, it is almost the same as a normal time tracking. Go to Menu -> Worksheet.
Click ‘+time’ to create a registration. You can enter a start/end time and the system will automatically calculate spent hours. Alternatively you can enter the spent hours manually.
Hereafter, you select the concerned project. You can use project-search to find the project quickly if there are many.
In the comment you can explain what the registered time was spent on. For example, if it is IT-support, you can specify the customers issue and how it was solved. The comment is also good for billing documentation.

When you click ‘Create’ on the time registration, you can see the effect of this on the report. Every time a new registration on the project is created, the details are adjusted both in the dashboard and in the project reports.
Overview

The dashboard looks similar to this, depending on your settings. (click here to go to the guide about the dashboard). Under ‘Your projects’ you can see all your active project and a brief overview of customer, budget and spend for each project.
The project turns red if the spend exceeds the budget.
If you want more information on one of the projects, just click the speech bubble on the right.
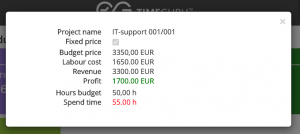
Here you can see budget price, labour cost, revenue and profit and more information on the specific project.
Report including prepaid hours vouchers/projects
To get an overview of customers vouchers, you can use the project report. Go to menu -> Projects -> Project report.
Here you see filters that you can use to create a report. You can filter by project group to only see information on vouchers.
You can select the customer filter to get an overview of a specific customer or you can leave it, if you want an overall overview on all the prepaid hours vouchers.

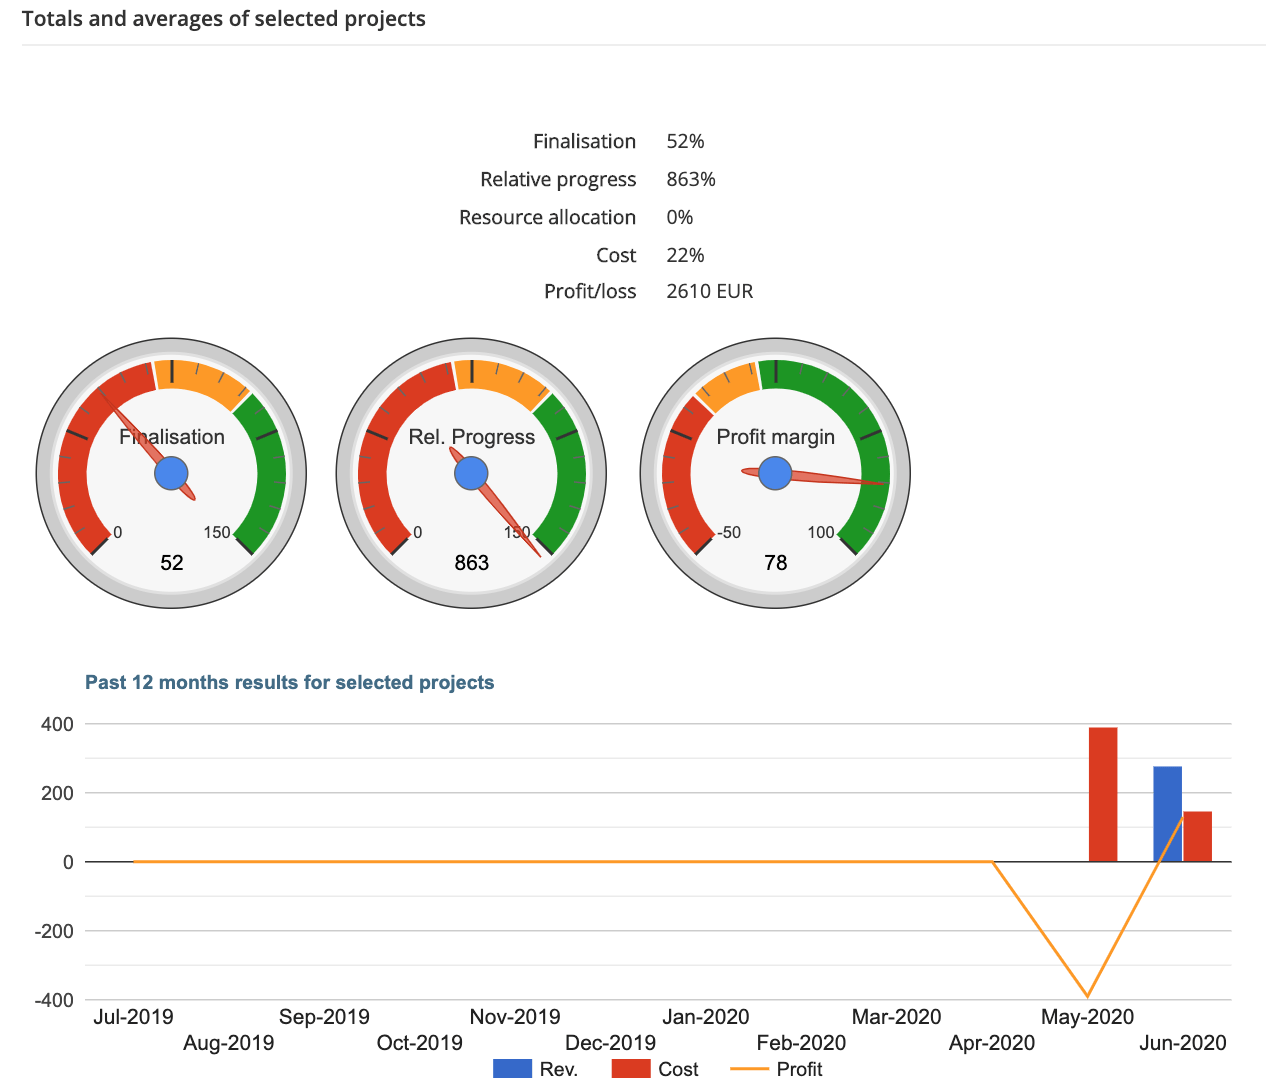
When you click ‘Generate report’ you get an overview of the selected projects. Including an overview of the average finalisation, relative progress and cost of the projects. The profit/loss is also shown here.
Right below you can see the results for the selected project of the span of 12 months. The yellow line is showing the profit.
Besides this, you can collect all the product details in a table that can also be downloaded as a PDF-file. This shows the details of each project and the total in the last line.

Now you are ready to use prepaid hours vouchers with projects!